
How to install a rear turn signal and tail light on a 2007-2008 Honda CBR600RR
By
George
on
February 15, 2013
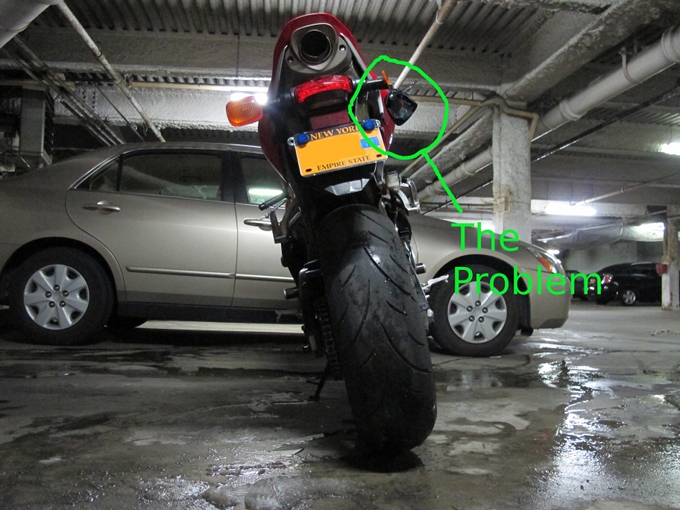
Problem: Broken right rear turn signal.
The signal base and lens both shattered. Surprisingly, the light bulb survived.
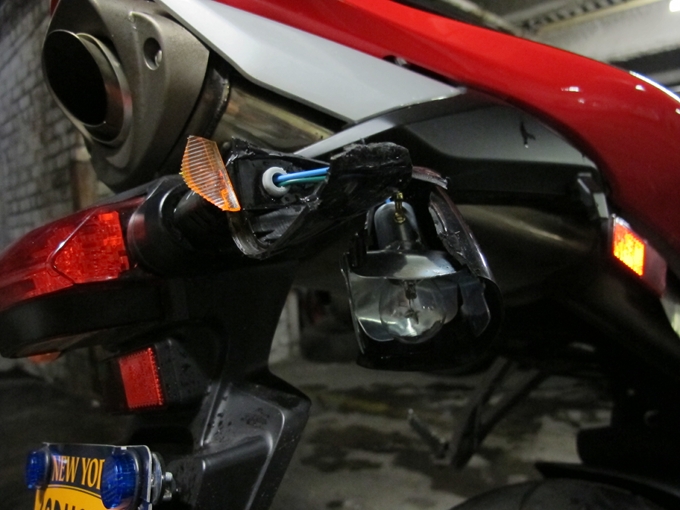
Problem: Broken right rear turn signal.
The signal base and lens both shattered. Surprisingly, the light bulb survived.
I went to MotoSport.com and ordered the following parts:
Honda Part# 33603-MFJ-A00 Turn Signal Base, Right Rear.
Honda Part# 33402-MAS-602 Turn Signal Lens.
Honda Part# 33407-MAS-601 Turn Signal Lens Gasket.
I didn’t order a bulb, intent on scavenging the one from my smashed up turn signal.
Tools:
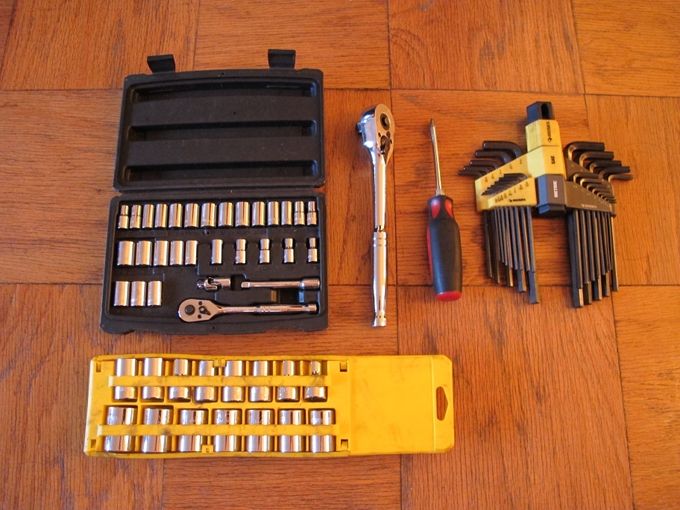
Socket wrench
Sockets: 10mm, 8mm
5mm Allen
Phillips screwdriver
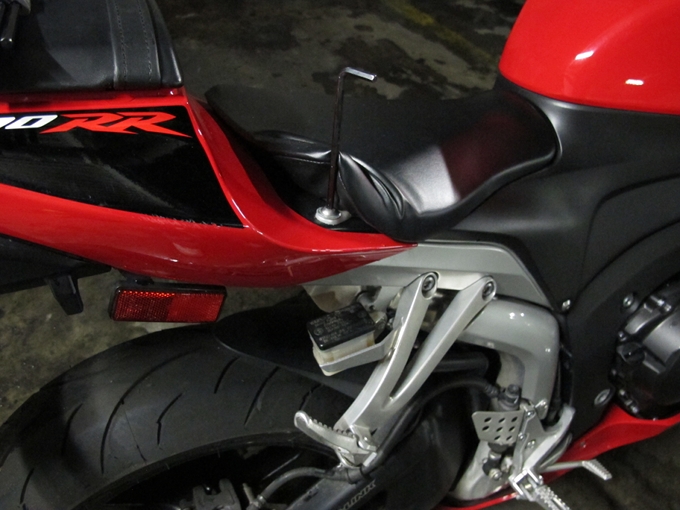
Start by removing the two screws and washers located behind the seat. Use the 5mm Allen. You will have to push up on the seat corners in order to gain access to the screws.
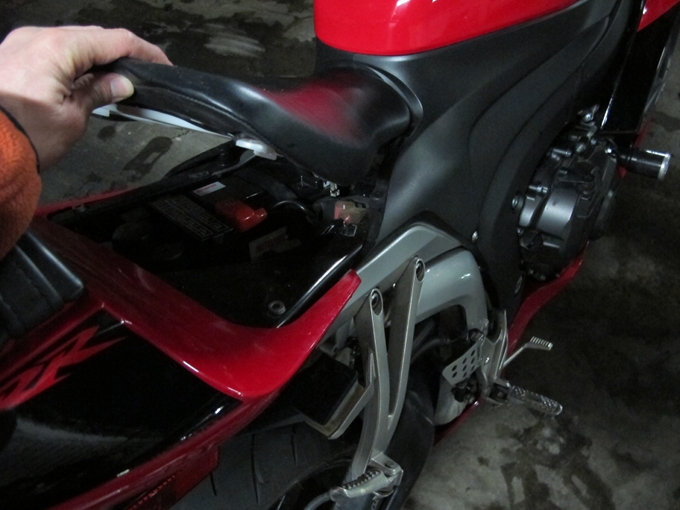
Pull the seat rearward to remove it.
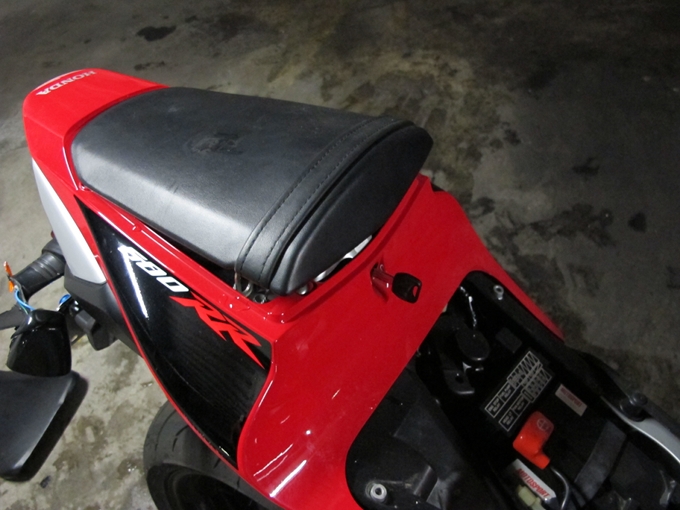
Use the ignition key to open the passenger seat lock, and pull the passenger seat forward to remove it.
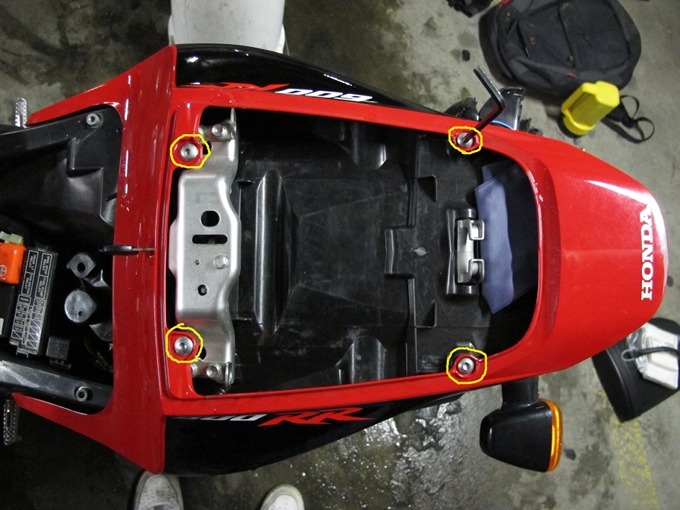
Using a 5mm Allen, remove the four screws circled in yellow, which secure the rear cowl.
Pull the rear cowl up and out to remove it.
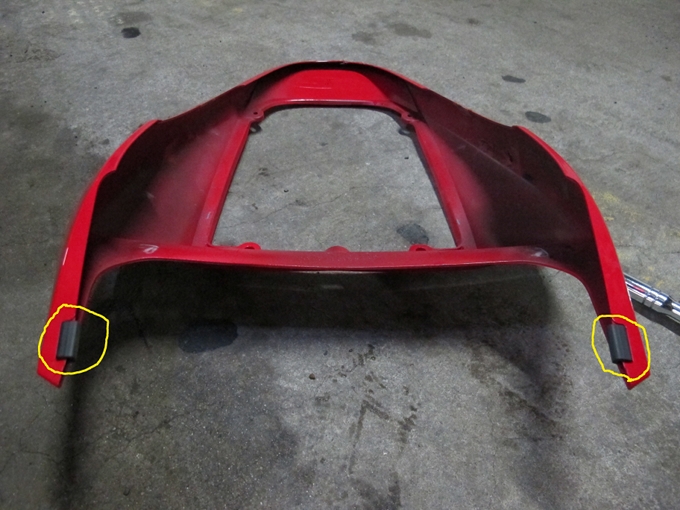
Make sure not to lose the two small rubber fittings attached to the rear cowl.
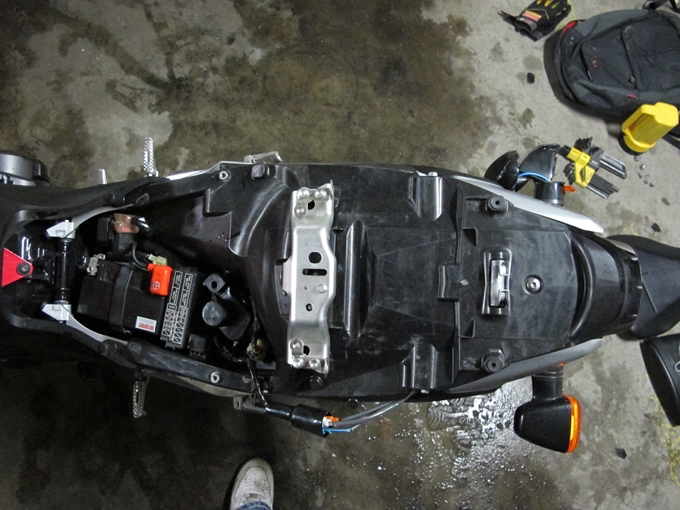
View with the seats and cowl out of the way.

Locate the wire bundle, and push the water shield out of the way to expose the electric light connectors.
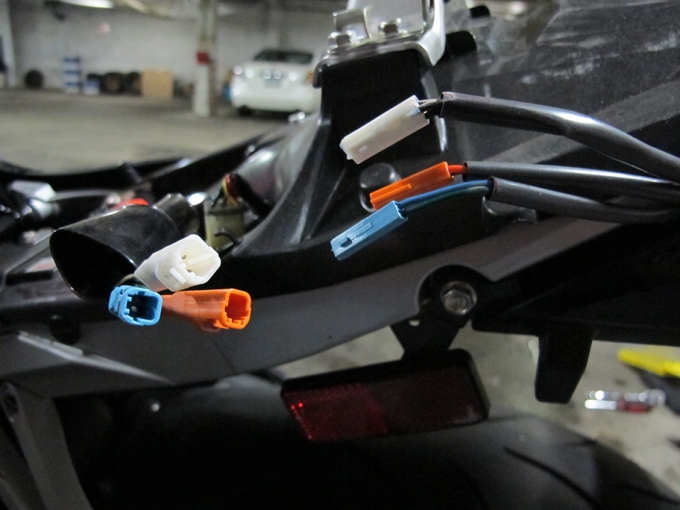
Disconnect the brake/tail, left, and right turn signal light connectors.
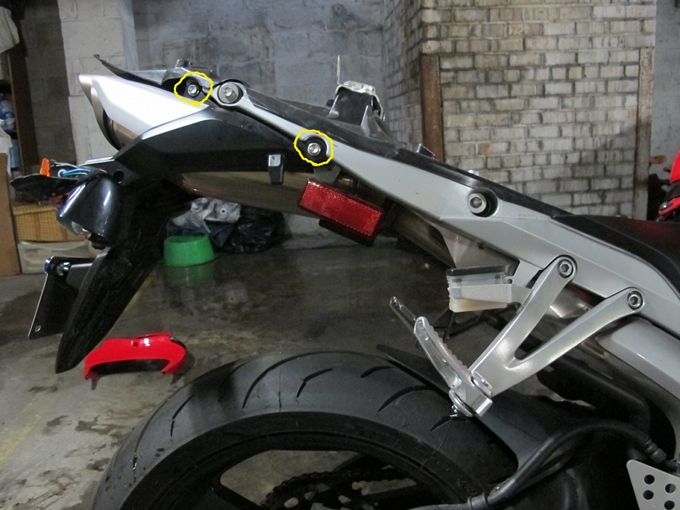
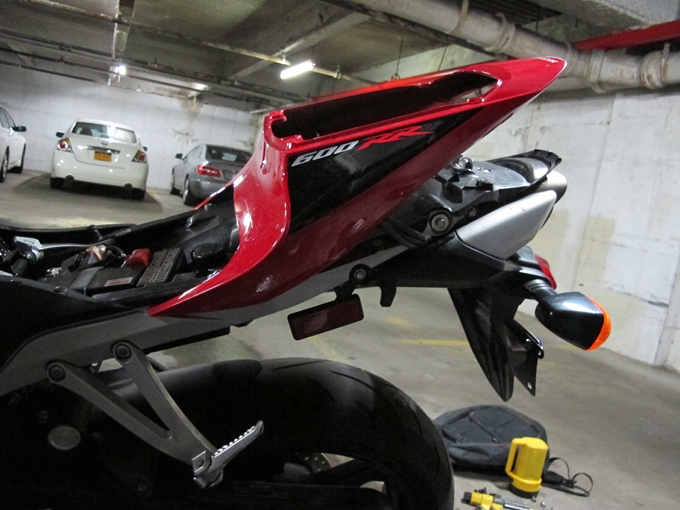
Walk over to the right side of the bike. Use a 10mm socket to remove the two rear fender A bolts circled.
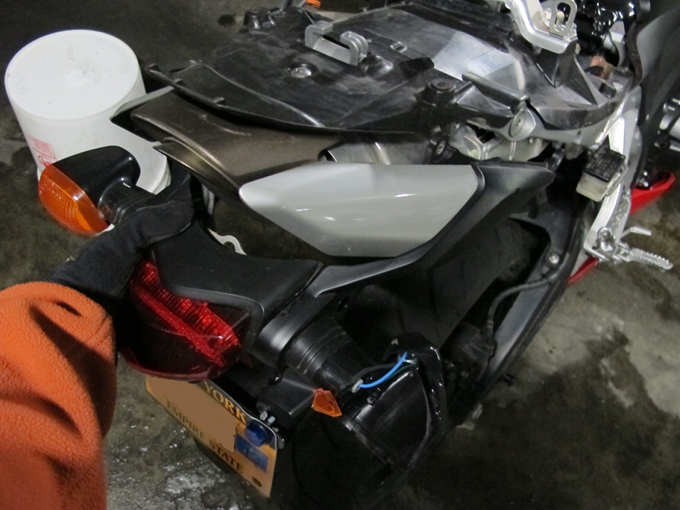
Now remove the same two bolts on the left side. Take the front bolt (the one holding the side reflector) off first. When almost done removing the rear bolt, support the rear fender A with one hand so that it doesn’t drop when the final bolt is removed. Pull the rear fender A assembly out.
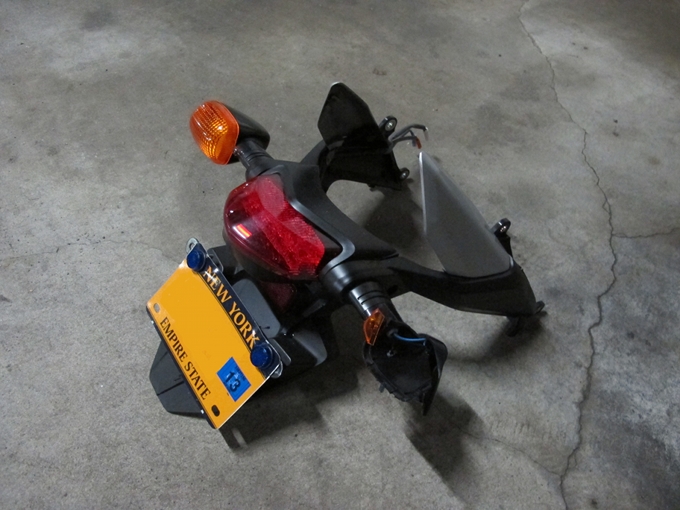
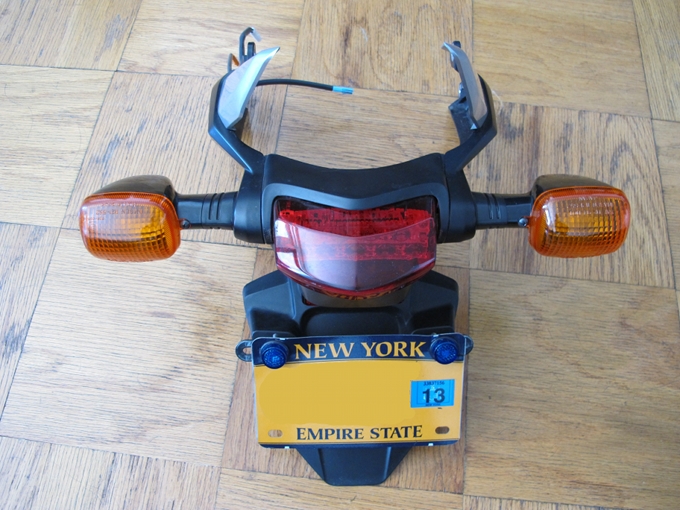
The rear fender A assembly, which houses the rear turn signals and tail light. I was looking forward to getting it removed, because now I can take it home to continue working. Home, where it’s warm and light. It’s a 20 degree February day, and my building garage is dark, wet, and unheated.
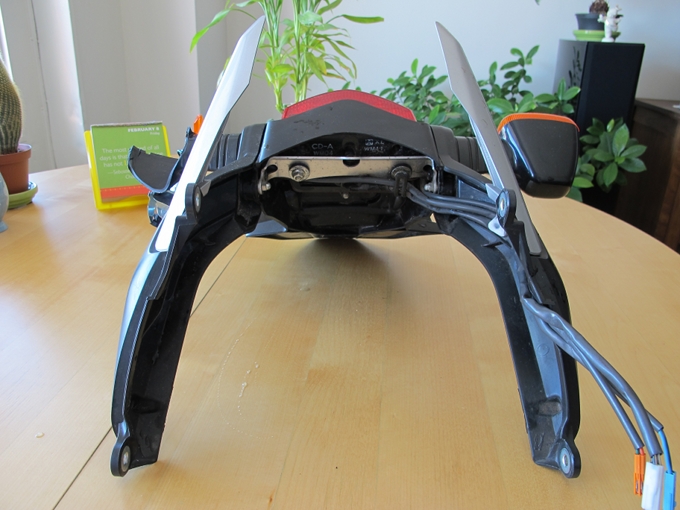
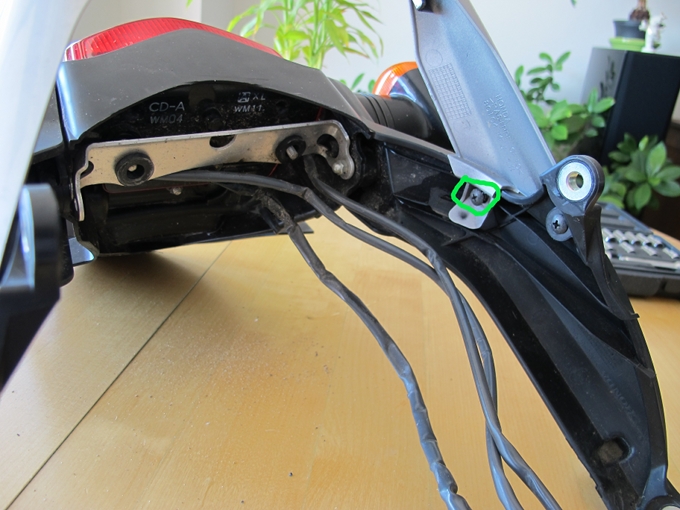
Rear fender A, inside view.
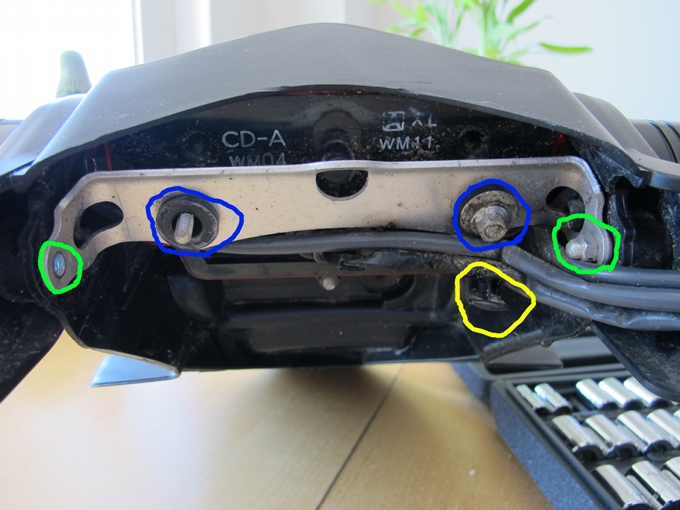
Bend back the wire clip (yellow) and use an 8mm socket to remove the two bolts (green) that secure the center plate (metal bracket). If you will be changing the brake/tail light, also use an 8mm socket to remove the two bolts (blue) that secure it to the center plate. Although I’m only changing the turn signal today, I remove the blue bolts as well, because I noticed that my center plate is bent out of shape: once it’s off, I will attempt to straighten it.
Use a Phillips screwdriver to loosen this screw and release the cables.
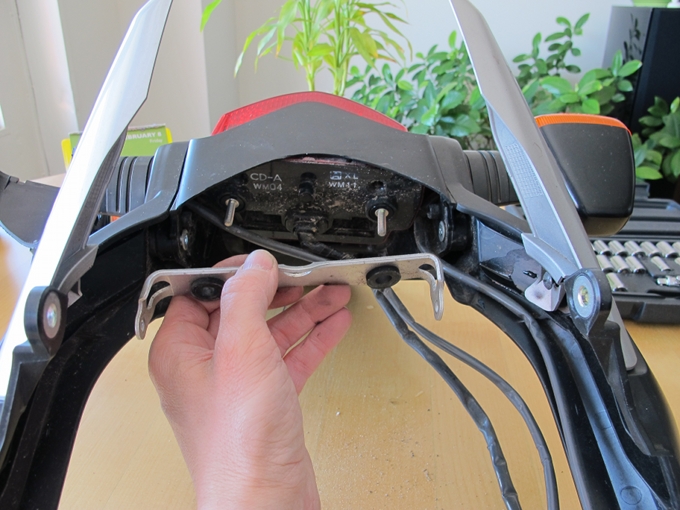
Pull out the center plate and brake light.
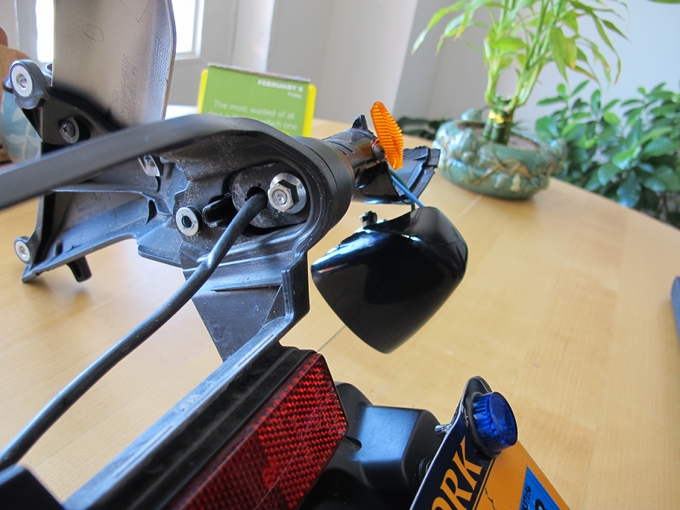
We now have the access we need to remove the nut that secures the broken turn signal. Use a 10mm socket.
Out with the old.
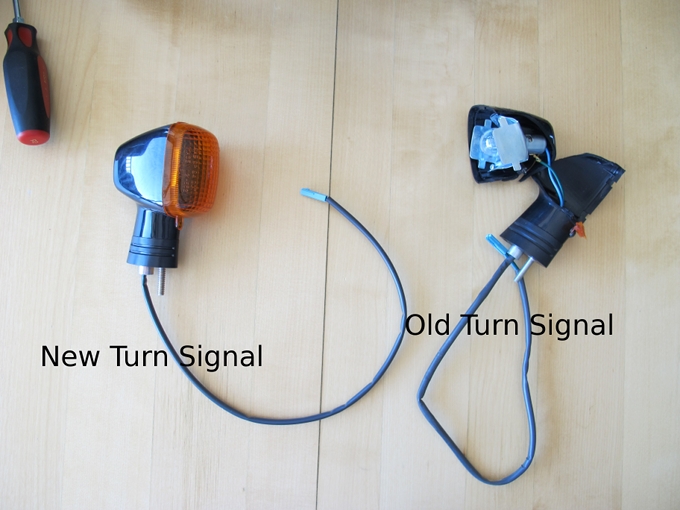
For a brief moment, they are face to face: The young warrior and the old, broken down old man.
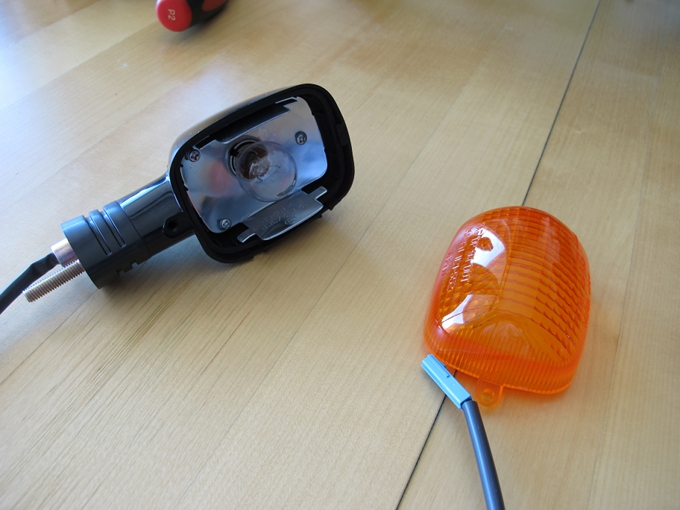
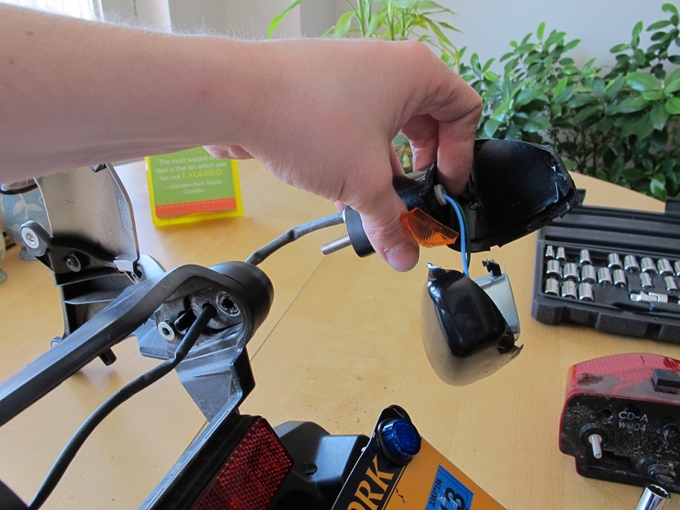
I use a Phillips screwdriver to remove the new turn signal lens and move the bulb over from the old signal. A light push and twist both releases and secures the bulb.
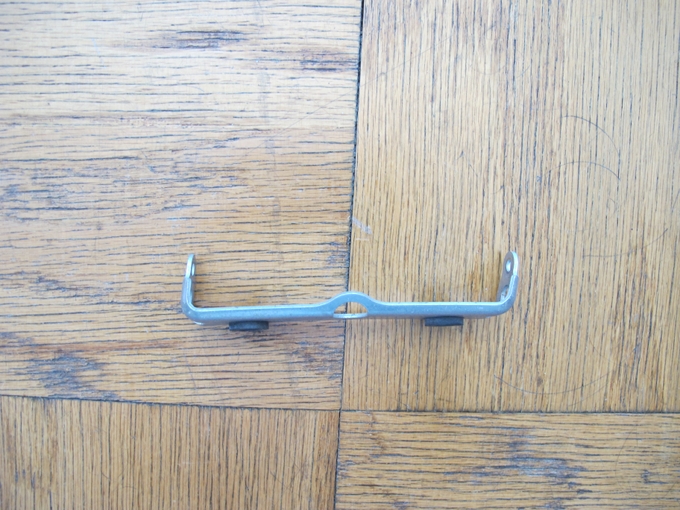
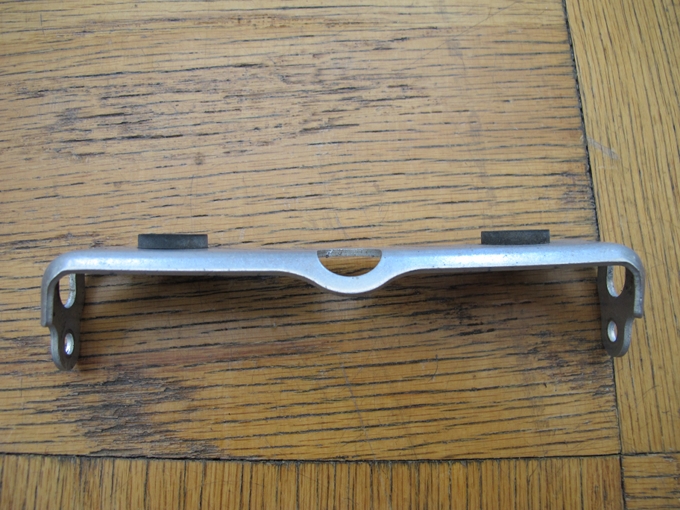
I noticed earlier that the center plate was bent out of shape, although it’s kind of hard to see in this photo.
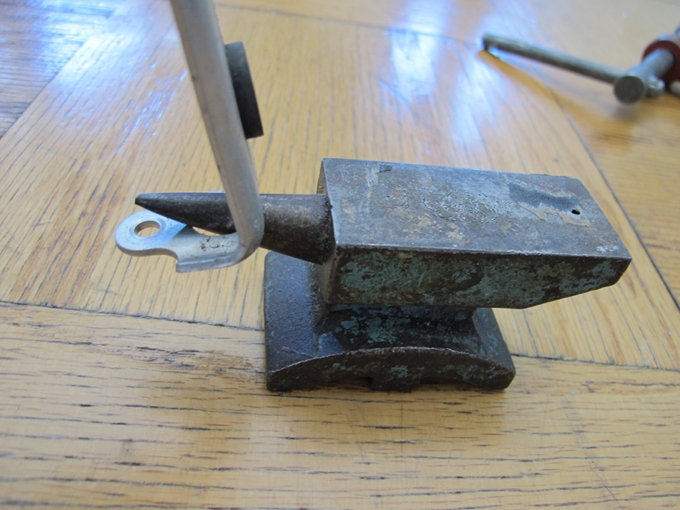
I use my grandfather’s old anvil to straighten the tab of the center plate that’s bent in…
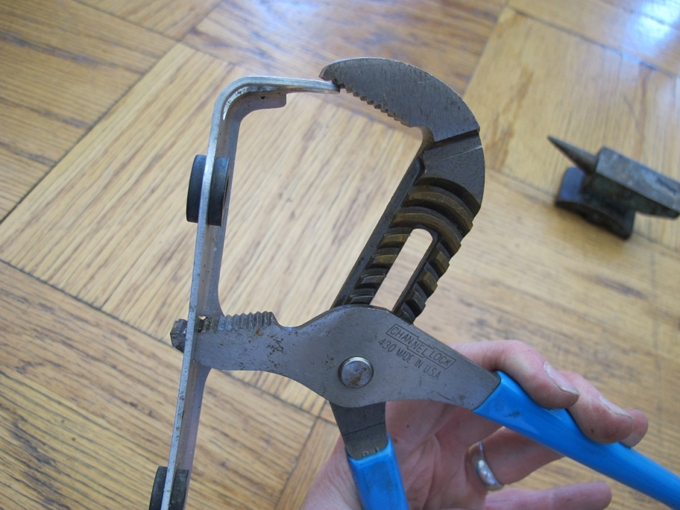
… and slip-joint pliers to straighten the tab that’s bent out.
Much better.
Reassemble the rear fender.
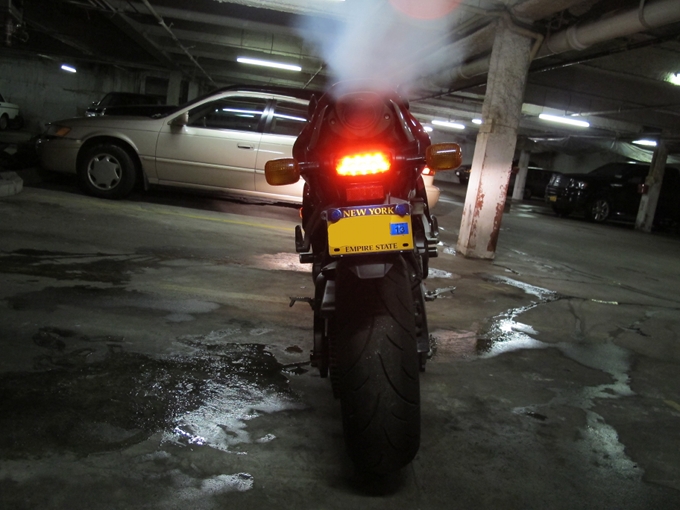
Installation of rear fender A, rear cowl, passenger, and regular seat are in the reverse order of removal. When you’re done, ensure that the running light, brake light, and left and right turn signals work.


6 Comments for "How to install a rear turn signal and tail light on a 2007-2008 Honda CBR600RR"
Leave a comment
Great post mate. The most instructive, easy to follow instructions everyone is looking for.
Please post more to do with the CBR600 series
AWESOME!! I have to do this exactly in order to pass inspection. THANKS!!
Where did you get that rear fender A assembly?? Please & Thank you!!
I re-used my old assembly; the new turn signal I got from Motosport.com
Just changed indicator following this – many thanks…
very informative, many thanks.